Theming Bootstrap in your Spring Boot application
Why?
Bootstrap is a great toolkit for developing web applications. Getting started with Bootstrap is a breeze as there are a number of plain starters and examples to use on the website.
Once you've integrated the toolkit and built some pages there is likely going to come a time when you need to customise the look and feel of the components. Why would you do this? Perhaps you are looking to apply some company branding.
Typically in the past I've done this by including a CSS file that overrides the styles from the built bootstrap CSS file.
<!doctype html>
<html lang="en">
  <head>
    <!-- Required meta tags -->
    <meta charset="utf-8">
    <meta name="viewport" content="width=device-width, initial-scale=1, shrink-to-fit=no">

    <!-- Bootstrap CSS -->
    <link rel="stylesheet"  href="https://stackpath.bootstrapcdn.com/bootstrap/4.3.1/css/bootstrap.min.css" >

    <!-- Override Boostrap CSS -->
    <link rel="stylesheet"  href="/css/bootstrap-overrides.css" >

    <title>Hello, world!</title>
  </head>
The CSS file then looks a little like this:
.btn-primary {
    color: #2e3440;
    background-color: #88c0d0;
    border-color: #88c0d0;
}
.btn {
    color: #2e3440;
}
This is ok for tweaking some styles but does not scale as Bootstrap continues to tweak styles and add components.
So I thought it would be worth me investing some time to take a look at how I might use Bootstrap's theming feature to customise the styles without the overhead of overriding values.
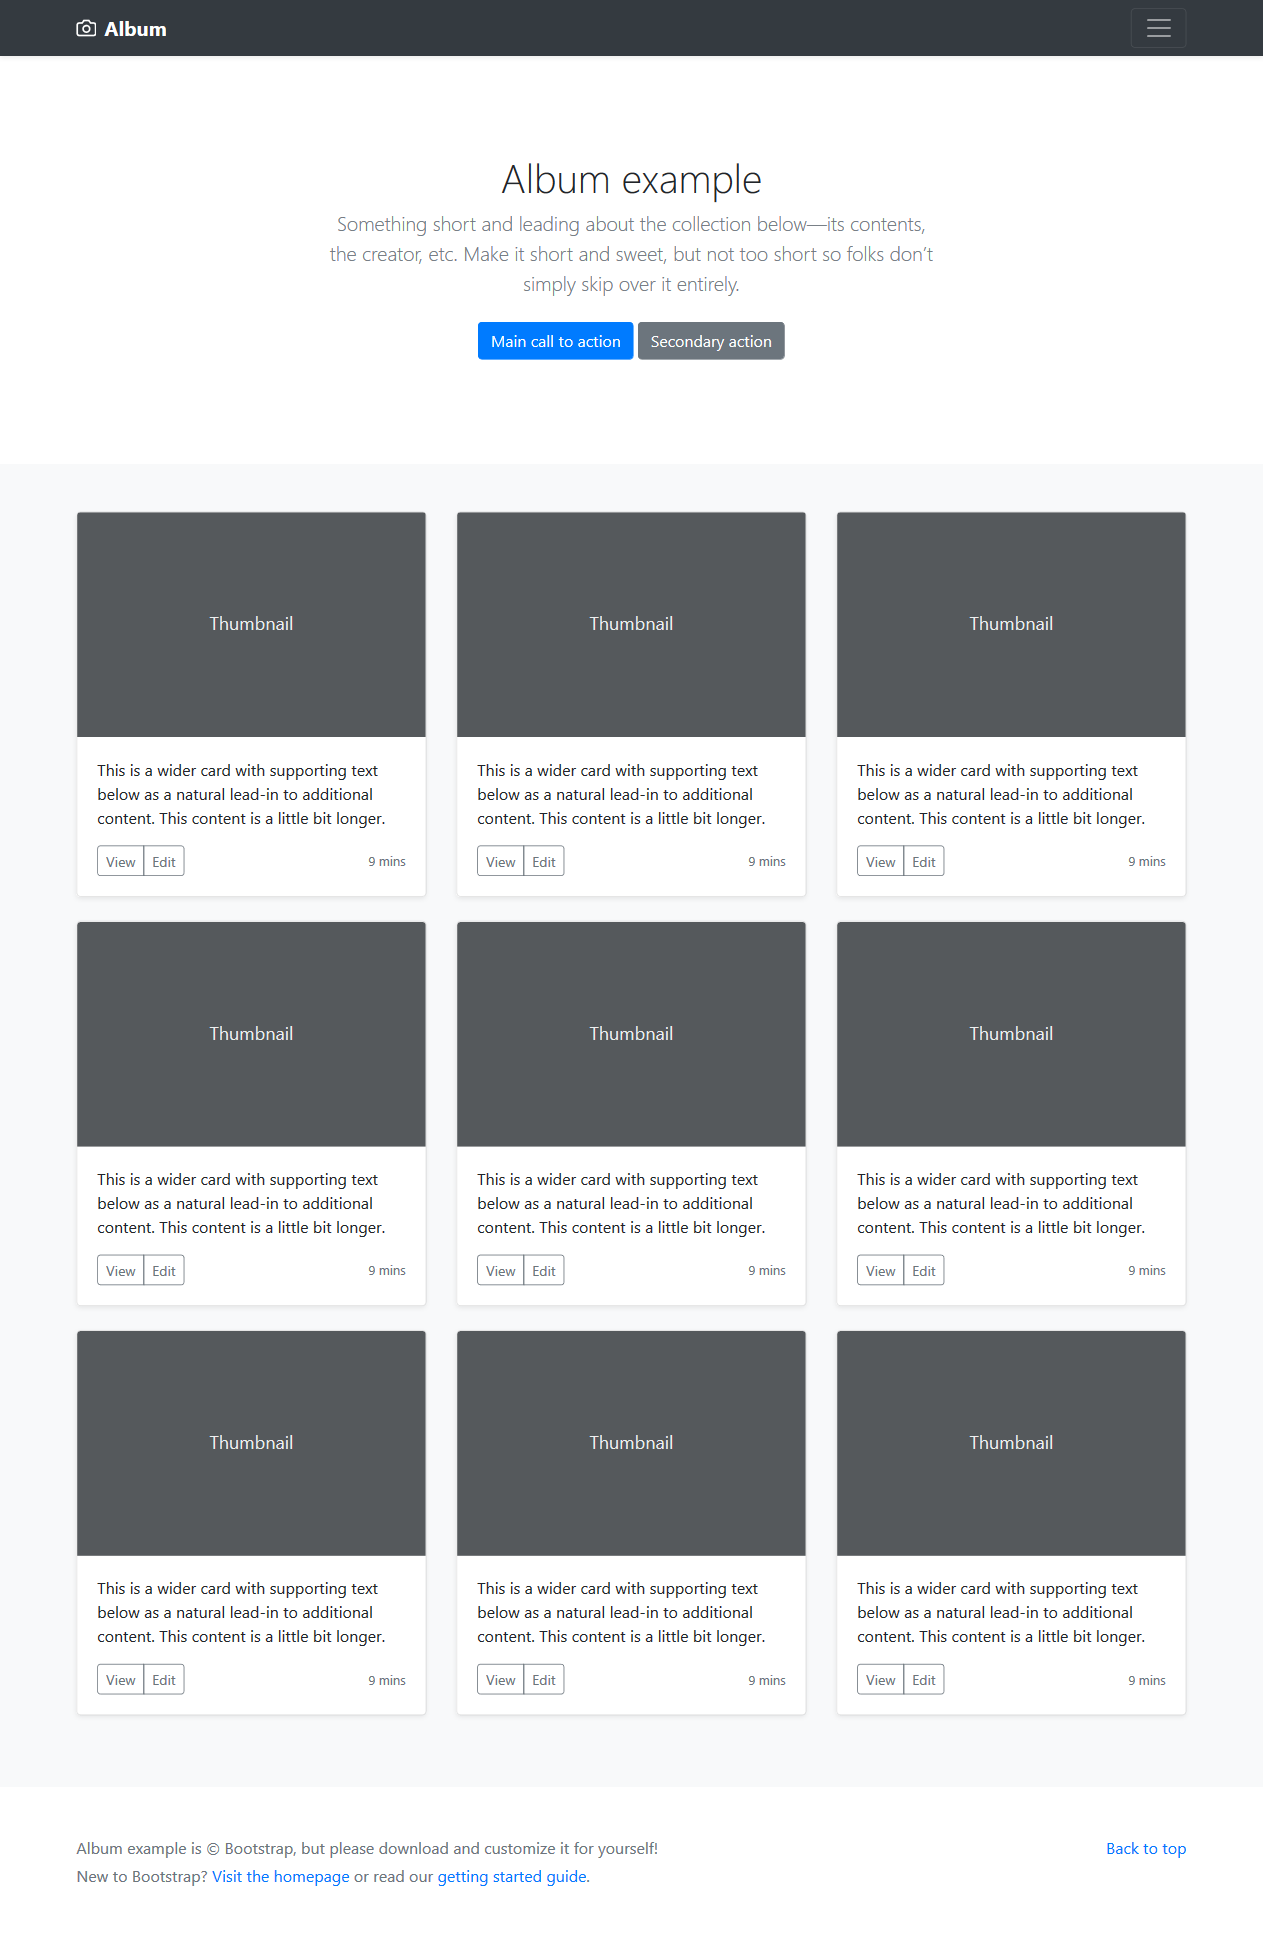
For this article we are going to customise Bootstrap to use the lovely arctic, north-bluish Nord colour scheme paired with a nice PT Sans font from Google. The demo will use the Album example.
How?
We start with a new Spring Boot project from Spring Initializer and include Thymeleaf and Web dependencies. The project is available on Github in the repo https://github.com/teggr/customise-bootstrap-for-spring-boot.
The Bootstrap theming feature requires Sass which is not native to Java. We are going to use node-sass to customise Bootstrap and the maven frontend plugin provides a great way of executing node and npm commands.
Here we configure the plugin to install node + npm, then run npm install and finally run the scss (sass compiler) command.
<plugin>
  <groupId>com.github.eirslett</groupId>
  <artifactId>frontend-maven-plugin</artifactId>
  <version>1.7.6</version>
  <configuration>
    <nodeVersion>v12.6.0</nodeVersion>
  </configuration>
  <executions>
    <execution>
      <id>install-node-and-npm</id>
      <goals>
        <goal>install-node-and-npm</goal>
      </goals>
    </execution>
    <execution>
      <id>npm-install</id>
      <goals>
        <goal>npm</goal>
      </goals>
    </execution>
    <execution>
      <id>scss-compile</id>
      <goals>
        <goal>npm</goal>
      </goals>
      <configuration>
        <arguments>run scss</arguments>
      </configuration>
    </execution>
  </executions>
</plugin>
The npm commands will read from the packages.json file. The packages file is where we declare our Bootstrap dependencies and also declare what files we want to compile using scss.
{
  "name": "customise-bootstrap-for-spring-boot",
  ...
  "scripts": {
    "scss": "node-sass src/main/scss -o target/classes/static/css"
  },
  ...
  "dependencies": {
    "bootstrap": "^4.3.1",
    "copyfiles": "^2.1.0",
    "jquery": "^3.4.1",
    "node-sass": "4.12.0",
    "popper.js": "^1.15.0"
  }
}
The final step is then to populate the site.scss file with our custom colours and fonts
@import url('https://fonts.googleapis.com/css?family=PT+Sans&display=swap');

$white: #fff;
$gray-100: #eceff4;
$gray-200: #e5e9f0;
$gray-300: #e5e9f0;
$gray-400: #d8dee9;
$gray-500: #d8dee9;
$gray-600: #4c566a;
$gray-700: #434c5e;
$gray-800: #3b4252;
$gray-900: #2e3440;

$blue:    #88c0d0;
$indigo:  #81a1c1;
$purple:  #5e81ac;
$pink:    #bf616a;
$red:     #bf616a;
$orange:  #d08770;
$yellow:  #ebcb8b;
$green:   #a3be8c;
$teal:    #88c0d0;
$cyan:    #88c0d0;

$secondary: $gray-600;

$text-muted: $gray-400;

$font-family-sans-serif: 'PT Sans', -apple-system, BlinkMacSystemFont, "Segoe UI", Roboto, "Helvetica Neue", Arial, "Noto Sans", sans-serif, "Apple Color Emoji", "Segoe UI Emoji", "Segoe UI Symbol", "Noto Color Emoji" !default;

@import "../../../node_modules/bootstrap/scss/bootstrap";
Now we have a maven build that will compile the Sass files during the generate-resources phase so that the spring-boot-maven-plugin will bundle the resources into the jar.
A cool new album example
Now once the application is started, then we can see the finished result with the new font and cool colour scheme.
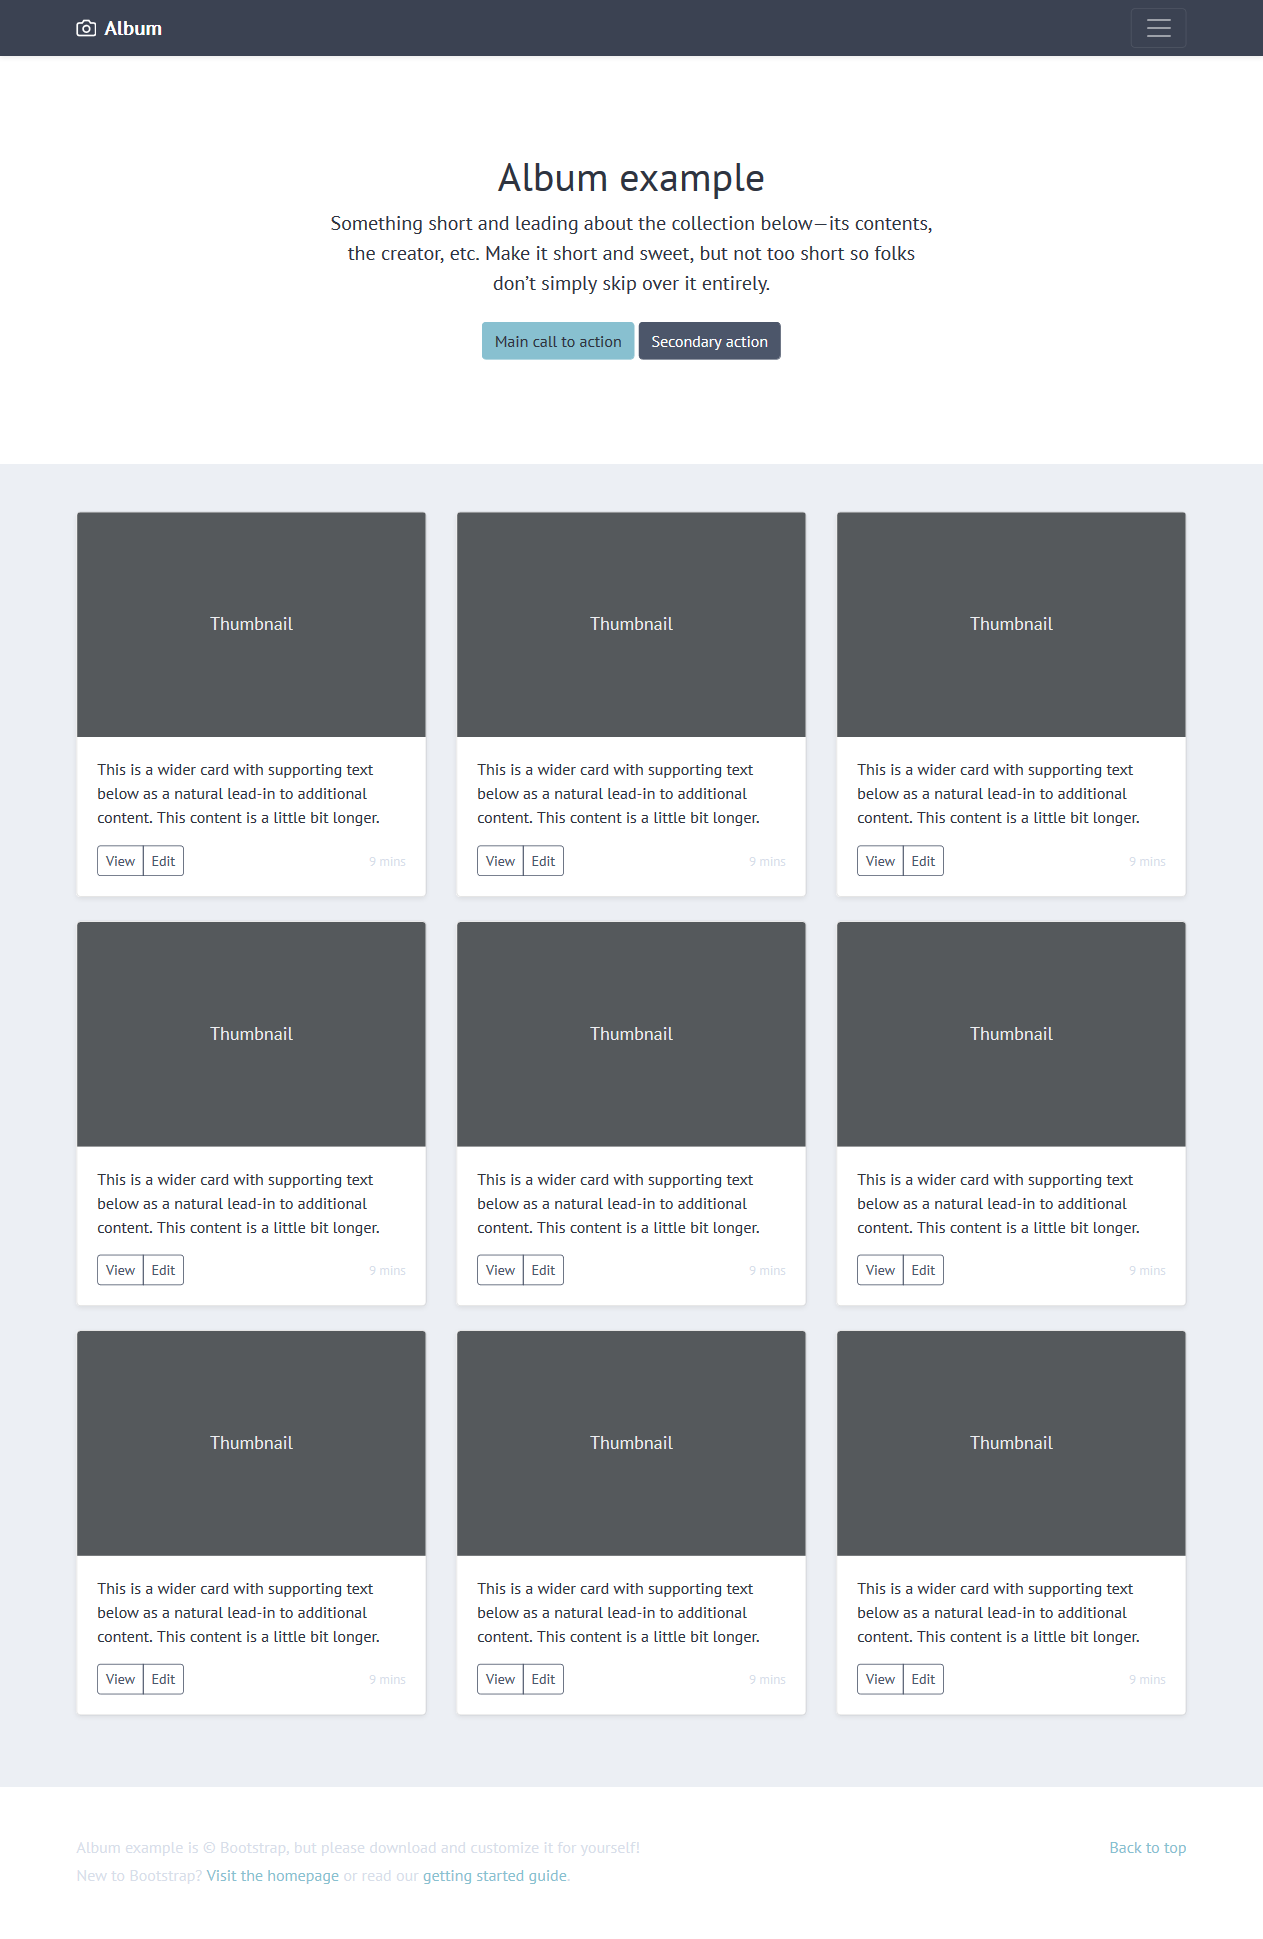
Now that you've got the infrastructure up and running then you can theme Bootstrap to your hearts content. Enjoy!
Extra
In order to re-use the distributable artefacts from the node_modules I also set up the maven build to copy those resources in the build so that they are part of the static folder where you commonly find other CSS and JavaScript files.
<resources>
  <resource>
    <directory>${project.basedir}/src/main/resources</directory>
  </resource>
  <resource>
    <directory>${project.basedir}/node_modules/jquery/dist</directory>
    <targetPath>static/js/jquery</targetPath>
  </resource>
  <resource>
    <directory>${project.basedir}/node_modules/popper.js/dist</directory>
    <targetPath>static/js/popperjs</targetPath>
  </resource>
  <resource>
    <directory>${project.basedir}/node_modules/bootstrap/dist/js</directory>
    <targetPath>static/js/bootstrap</targetPath>
  </resource>
</resources>